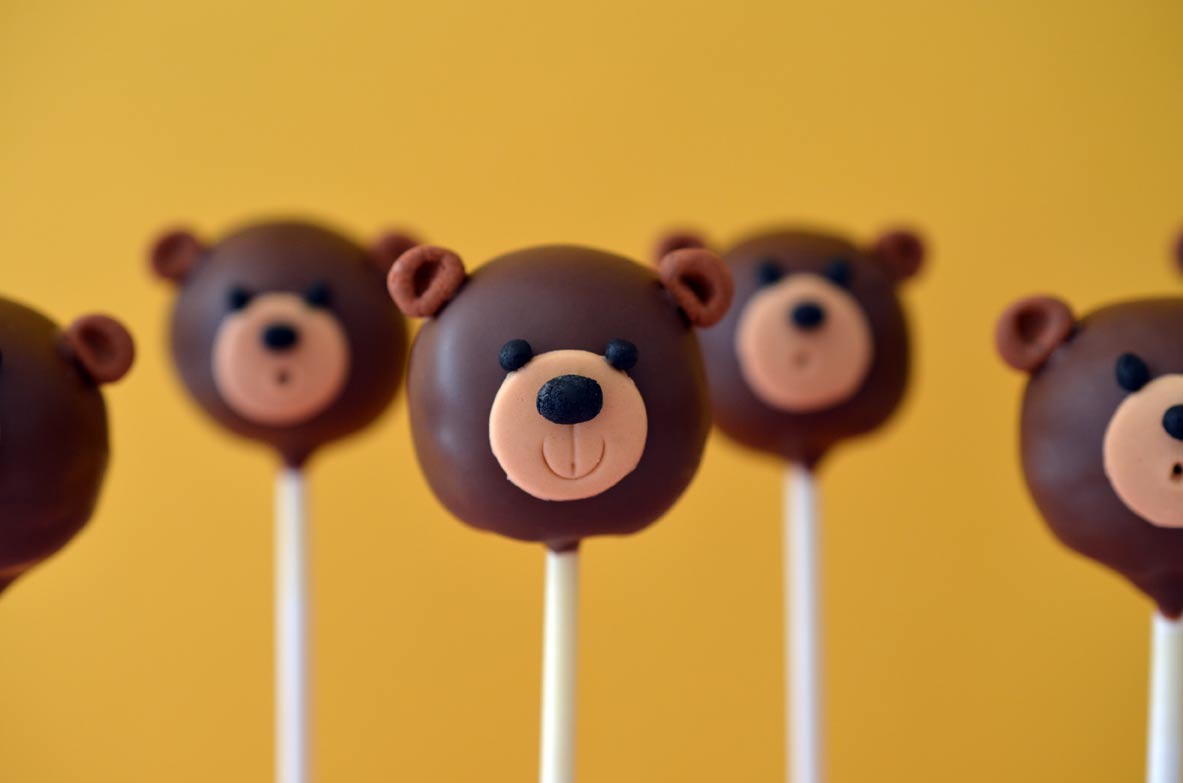
Teddy Bear Cookies

Don’t be alarmed that these teddy bears don’t have any faces! They are decorate-a-teddy-bear cookies, and are mean’t to be decorated with edible food pens. Ever since I decided to throw my son a teddy bear picnic party, I have been crazy about teddy bears. I thought these cookies would make a fun project for the kids to decorate at the party, and I really like that they can be made in advance and frozen. I made all of the teddy bear cookies in advance and froze them completely decorated. At party time, it was a cinch to pull them out and let them thaw. These cookies are guaranteed to bring a smile to your party guests, and even the parents will enjoy getting in on the decorating action!

Begin with a great sugar cookie recipe. My Excellent Sugar Cookie recipe is the one I always rely on.

You want to keep the dough thickness consistent. I roll it about 1/4″ thick. This makes for sturdy cookies that don’t break easily.

This is a Teddy Bear Comfort Grip Cutter from Wilton. It’s about 4″x 4″, just to give an idea of the size of these cookies.

I was able to fit eight cookies per sheet. I baked them for about 12 minutes.

Once they are just slightly browned on the edges, they are done.

Now that the cookies are cooling, you can make your royal icing. I love Bridget Edwards’ royal icing recipe. I colored this icing with Americolor Warm Brown and Chocolate Brown gel pastes.

I use a #2 decorating tip to pipe the outline on the cookies. I like to keep my piping bag closed securely using a clothes pin, and I like to keep it tip down in a pint glass with a wet paper towel at the bottom. This keeps the tip from drying out while you’re working.

I like to outline all of my cookies before flooding any of them. It makes it easier if you can get an assembly line going.

Once you are done with all of the outlining, it is time to make the flood icing. To do this you will add water a few drops at a time to the royal icing (the icing you have already colored and used for piping). You want to thin it to the point that when you drop a ribbon of the icing from a spoon it disappears into the icing after a few seconds. Once it is the right consistency, transfer it into a squeeze bottle and use that to pipe the icing onto the cookies, working with about three cookies at a time. If you squeeze the icing onto the cookie, and it runs out to the border, you have thinned it too much. In my experience, icing that is thinned to much remains tacky and doesn’t fully dry. It may also become grainy in appearance. When you have the right flood icing consistency, you should use a toothpick to guide the icing to the borders of the outlined cookie until it is completely covered.

While the icing is drying, it will be very shiny. The cookies should take four to six hours to dry.

I wanted to add some extra detail to the cookies since I wouldn’t be adding any faces, so I settled on bow ties for the boys and pearls with bows for the girls. I used some of the uncolored royal icing I had leftover to make an aqua shade. I piped the bows, pearls and bow ties using a #2 decorating tip.

For the girl teddy bears, I piped the pearls and bow directly onto the cookie.

For the boy teddy bears, I piped bow ties onto parchment paper. I let them dry and then attached them to the boy teddy bear cookies using a small bit of royal icing. I used the very tip of a toothpick to get the white polka dots onto the bow ties (do this while the icing is still wet).

I stored the finished cookies in Ziploc freezer bags stacked in a plastic storage container.

The key to defrosting the cookies is to remove the plastic container from the freezer, remove the lid, but DO NOT remove the cookies from the container or their individual freezer bags. Just let them thaw at room temperature for about 4 hours. You will notice that there may be condensation forming on the outside of the bags. This is a good sign! The cookies are thawing and the moisture is collecting on the outside of the bag rather than on the cookie itself.

Now you are ready to decorate the cookies. Get all of your friends together and have a cookie decorating party. There are a ton of edible pens on the market. I used a few different brands, and found that they all seem to work very well.

You can have a lot of fun getting creative with these cookies. When the guests are ready to go, they can take home their treats, if they haven’t already eaten them!